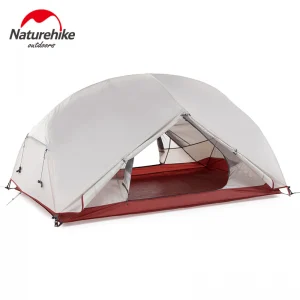
How to set up different types of tents? It is necessary to set up tents for outdoor activities. Many people are at a loss against a pile of tent construction materials and construction instructions. The following will introduce the methods and skills of setting up tents.
First, the structure of the tent. After finding a safe campsite or a suitable building site, it is time to set up the tents. The tent is the most important thing in camping, because the fun of our camping will change with the different types of tents.
A.Types of tents
A tent is the biggest necessity for camping. From basic models such as A-line and wall models to improved models with a wide living space, they all have different functions and forms. You can choose the type you want according to your camping purpose, scale and activities.
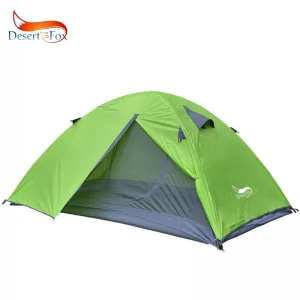
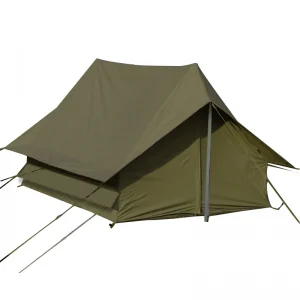
The tent -type, size material, and color are divided into several types. The basic type is called the smallest corner cone type, a triangular type called A-shaped, and a housing type called a wall type. On top of these three, we have made improvements for insect control, ventilation, heat preservation, color and emphasis, and tents with good habitability have been gradually developed so that everyone can have a comfortable camping life.
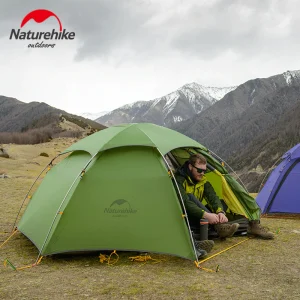
The hemispherical bullet-type tents that are easy to carry, the hut-type tents that reduce the pressure in the tent and increase its habitability, and the mobile-type tents used for meetings or actions, are improved tents, or deformed tents, which can be choose according to the purpose of camping and the content of the activities.which are called improved tents, or deformed tents, which can be selected according to the purpose of camping and the content of activities.
The floor is rectangular or square. Due to different structures, there are hexagonal tents, which are mostly used by 2-4 people. Recently, the two-person bullet-type tent has an area of 2.6 square meters, but the total weight is only about 6.5kg, which is quite suitable for the camping of small families.
B.Cabin Tent
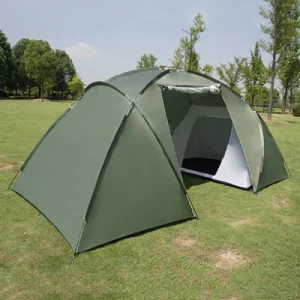
Similar to the warhead tent, it is very elegant in material and is a light and strong tent. To prevent adults from bumping their heads in the tent, the beams are specially raised, and the ground area is also designed to be wider. But the price is quite expensive. It is mainly to improve the past A-shaped tents and wall-type tents, focusing on eliminating the sense of oppression inside the tent and creating a large living space.
In terms of structure, the appearance is similar to that of a single-family home villa, which is called a home pentagonal tent. The interior of the tent is divided into two parts. For 3-4 people, the space is about 5-6 square meters, which is the living room. In addition, the outside of the tent is built with two pillars to form a rain shelter, which is a newly developed type and is quite popular.
The tent for 6 people, the sleeping part on the ground exceeds 9 square meters, the color and design are modern in style, and it is also very elegant in terms of waterproof and insect resistance.
One of the characteristics of the hut-type tent is the height of the beams, and there are even styles of more than 2 meters. In the tent, you can fully enjoy the open atmosphere.
One of the features of the hut-type tent is the height of the beams, and there are even styles of more than 2 meters. In the tent, you can fully enjoy the open atmosphere. The roof heavy structure and the design of strengthening the weather resistance are suitable for family camping or camping with three or five friends. The disadvantage is that the price is slightly higher. When choosing, you must pay attention to the design of the living room and the canopy.
Second, the method and skills of building a tent. First decide where to set up the tent. According to the order, 4 people will work together. It doesn’t take much time to set up the tent. To consider the situation when the tent is withdrawn, it will be more convenient to write down the initial configuration.
There are various types of tents, and at the same time, there are also different production, matching design and combination methods. Small tents, A-type tents, and wall-type tents are set up with cables due to the order of construction and their combination. While the recently developed and improved warhead-type and cabin-type tents belong to “combination tents”.
The following takes one of the basic tents, that is, a fairly popular wall-type tent as an example, to illustrate how the tent is erected.
A.Location Decision
After considering wind direction and terrain, choose a flat place.
B.Inspection of tent equipment
Pour out the items stored in the bag and check each part one by one. In order to facilitate the withdrawal of the tent and not to miss anything, it should be recorded first.
C.Laying floor mats
After the floor mat is laid, fasten the four corners with nails. If it is in a place with a lot of humidity, put a mat first, and then put the floor mat on it.
D.Erection the pillars, pull the main rope
With the support rope attached to the main rope, adjust the shape of the tent and stand the two pillars vertically on the ground. Secondly, adjust the corner rope and waist rope with the support rope to make the tent form.
E.Adjust the main rope and pull up the corner rope and waist rope
Insert the bottom of the pillar into the holes at both ends of the floor mat, and at the same time, the tip of the upper part of the pillar penetrates the holes of the two pillars of the curtain pillar and pulls up the left and right main ropes to avoid tilting left and right. In this way, the main shape of the tent is formed.
F.Fixed wall
Connect the tent base fabric, floor mats and the lower part of the wall.
The above is the erection sequence of the wall tent. Four people work together, and it can be completed in about 10-15 minutes in a skilled state. Usually, in order to reduce the impact of wind and rain, exposure to the sun and severe cold, a roof cover will be added. In step D, when inserting the pillars into the holes at both ends of the building, first add the roof cover, and then pull up the main rope. After the main rope is fixed with nails, take the endpoint of the roof building as the vertex to form two sides of an equilateral triangle, Pull the length of the bottom edge to the same length as the pillar. As seen from directly above the roof, the corner rope should be on the extension of the diagonal, and the waist rope should be in a straight line with the corner rope. After the tent is set up, it is necessary to stand in the position of protecting nature and dig ditches around it. Ditches are no longer dug unless in puddles.